Having trouble installing backgrounds and headers?
First Step... (Backgrounds)
1. Copy this highlighted code below
<style type="text/css">body {background-image: url(); background-position: center; background-repeat: no-repeat; background-attachment: fixed; }</style> <div style="position:absolute; top:30px; left:0px; border:0px;"><a href=http://www.mystylebackgrounds.blogspot.com target="_blank"><img src="http://i260.photobucket.com/albums/ii40/Mikelle_05/MyStyleClickable.png" border="0"></a></div>
2. In the top Navigation bar you will see a tab called "Layout" click on that. It will then pull up your page elements.
3. In your sidebar, you will see at the top "Add Gadget". Click on that. It will pull up a list of things that you can add to your blog. You want to add a "HTML/Javascript" gadget.
4. When you have pulled that up, paste the code that you have copied above into the empty white box. Click SAVE. (Note: do not change any of the code or it will not work)
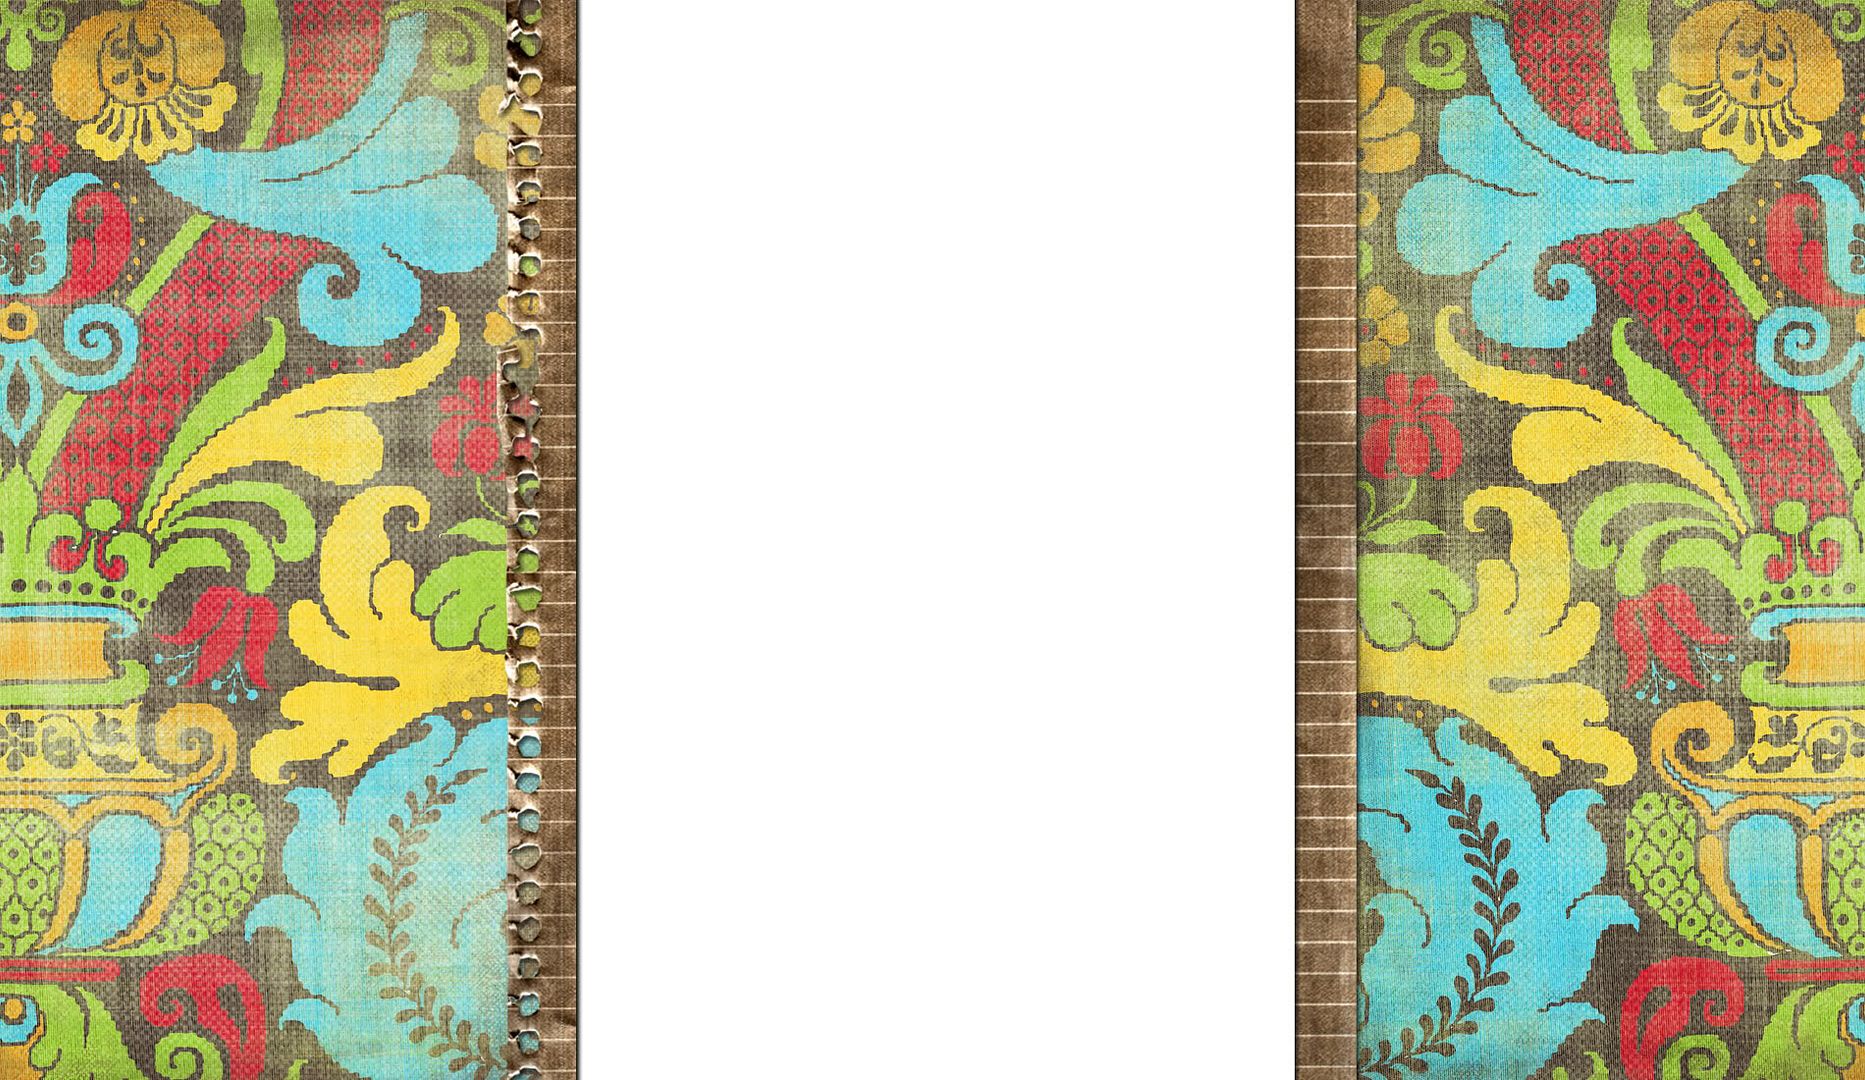
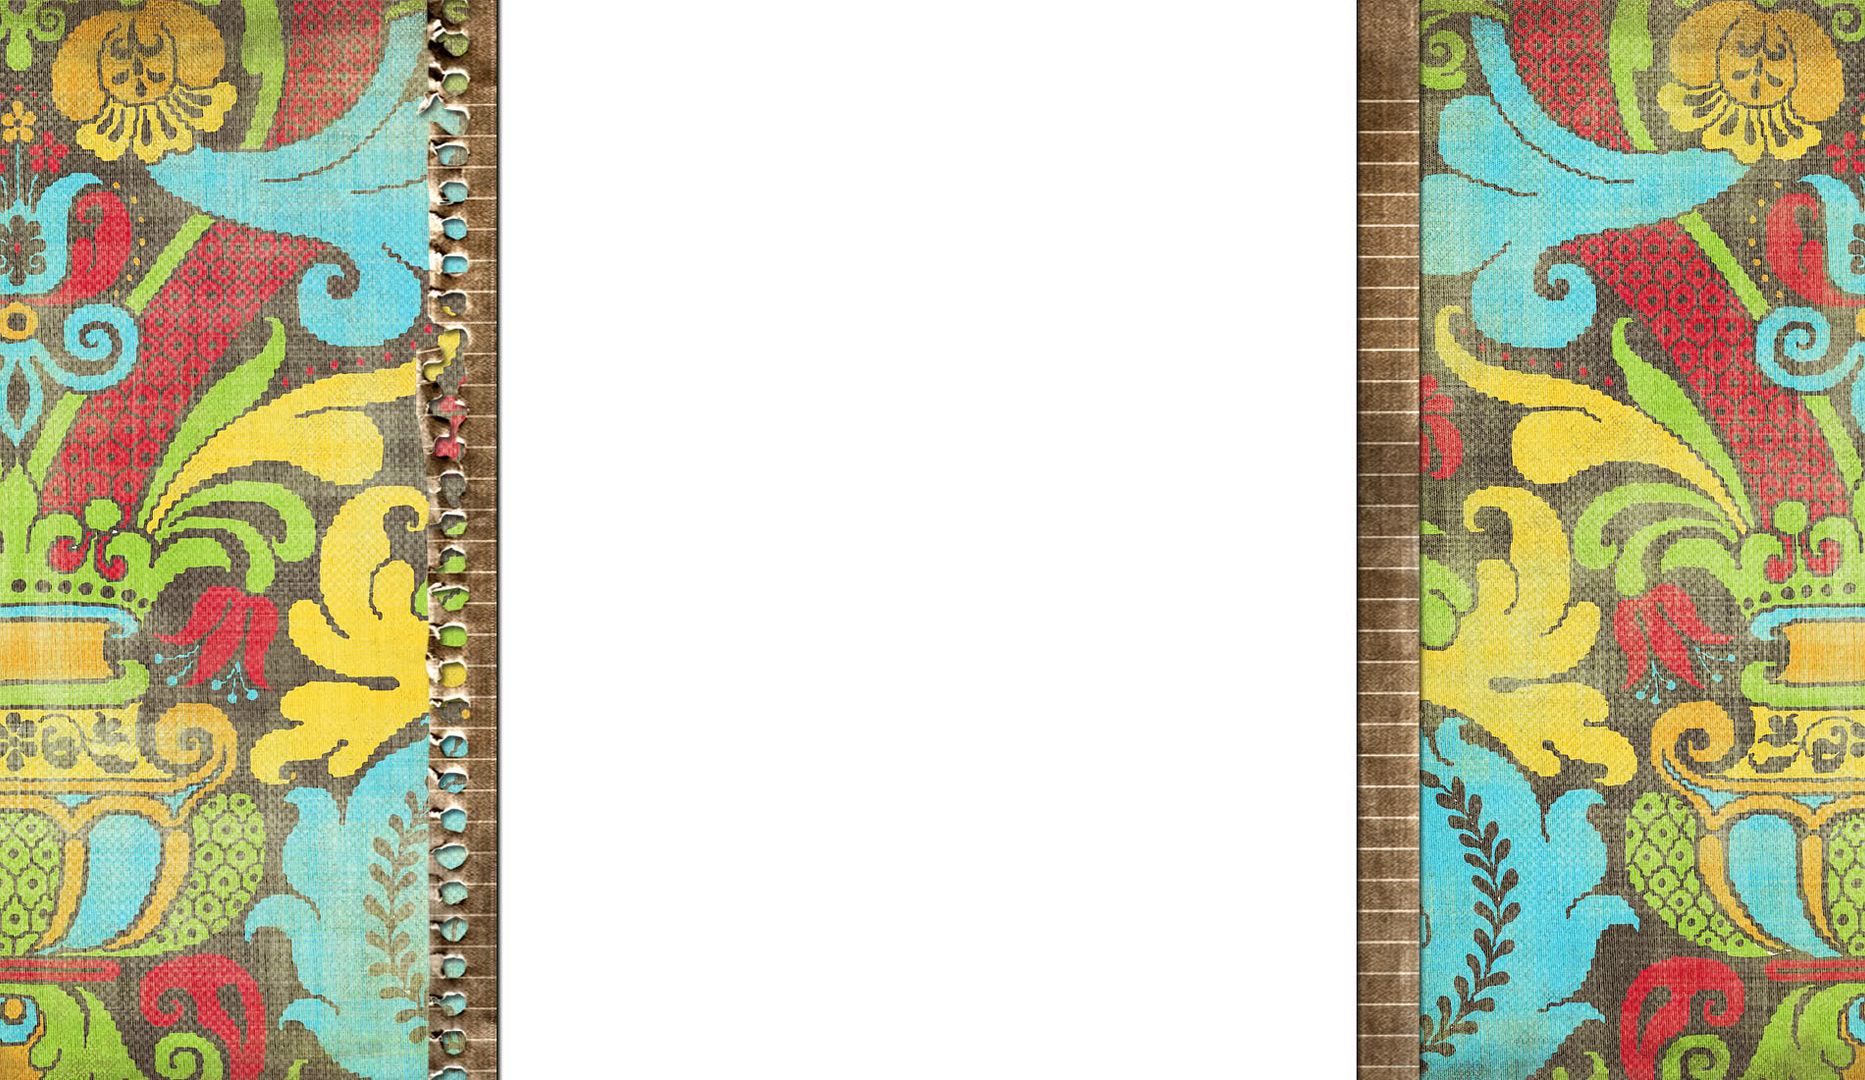
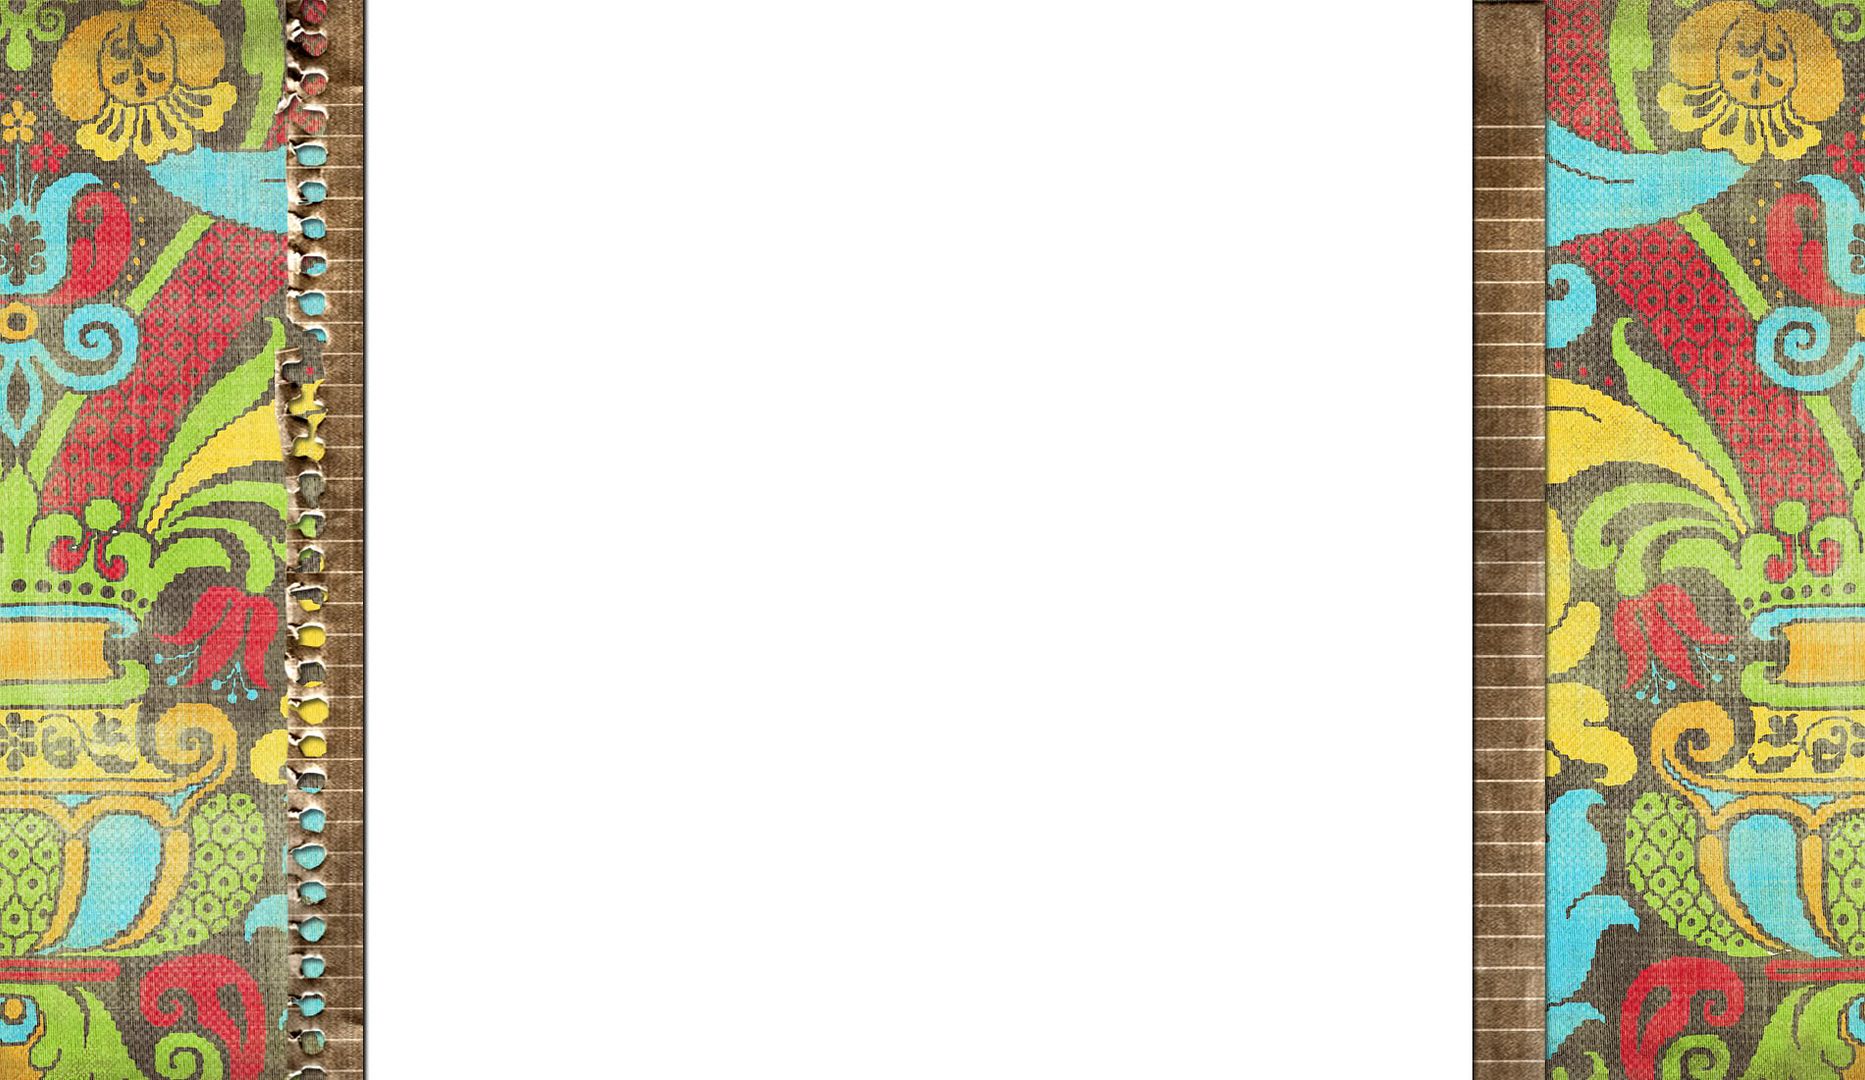
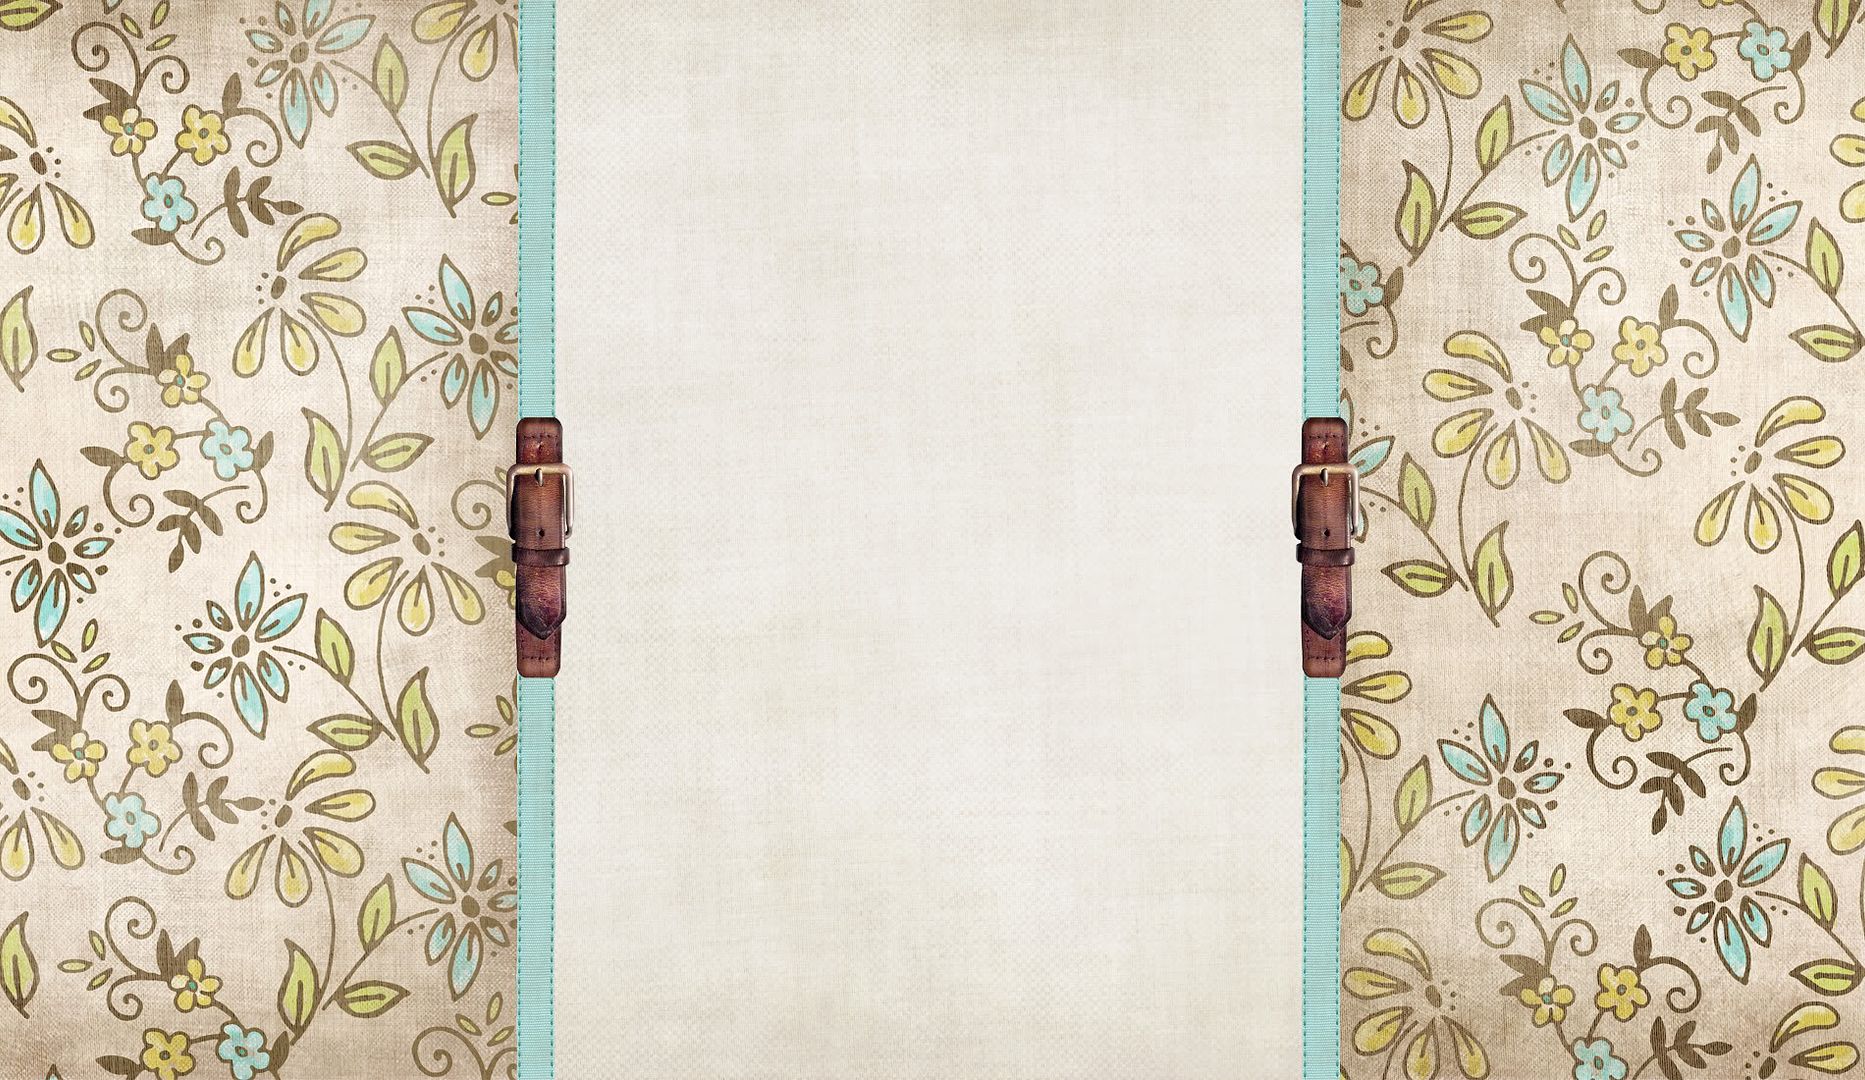
5. Now go back and copy the link that is below the background you like.
6. Return to the HTML/Javascript gadget that you added and paste the link in between the parenthesis that is highlighted above. Once you have done that, save it. Now, anytime you want to change your background, all you have to do is erase the code that is in ( ) and replace it with the new code.
Header Instructions
This is very simple, you will have it up in no time.
Step 1. Click on the Header that you would like to add to your blog. It will enlarge to its original size just like a picture would.
Step 2. Save the header to your computer in a folder that you will remember.
Step 3. Now go to "Layout". It will pull up your page elements, from there you will click "Header".
Important steps before uploading the header from your computer. Make sure the following are marked...
-Shrink to fit
-behind title and description
*if you click shrink to fit after the picture is uploaded it will not change a thing.
Now mark the "Upload from Computer" and click browse to find the Header. Once that has uploaded click Save. That's it!
(Note: If you didn't click shrink to fit before you uploaded the picture you have to remove it and upload it again for it to take affect.)
Standard size for the Header in html settings are 660px. Sometimes they need to be increased to 665px. to fit properly


